How to Use a Water Flosser: Technique and Limits
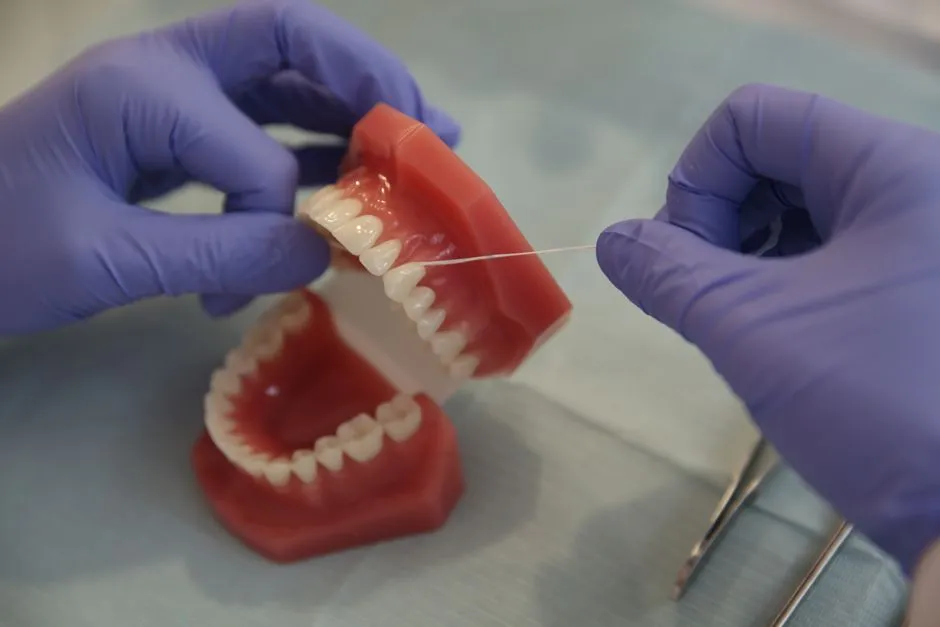
- How should you use a water flosser?
- What does it replace, and what does it not replace?
- What should you check before first use?
- How are filling and first-use priming different?
- Where should the standard tip point?
- What is the mouth-cleaning sequence?
- What should go in the reservoir?
- How can you avoid missing the same area?
- What if gums bleed or other symptoms develop?
- Sources
How should you use a water flosser?
Use a water flosser with a tip and technique your dentist or hygienist considers appropriate, following the exact device manual. Fill and prepare it as directed, select the recommended starting pressure, position the tip before switching on, and work systematically along the gumline and between teeth. Do not force the tip or increase pressure to overcome pain. Contact a dentist about bleeding, pain or swelling; difficulty breathing or swallowing needs emergency care. Water flossing does not replace toothbrushing or individualized dental advice.
What does it replace, and what does it not replace?
A water flosser delivers pulses of water around and between teeth. The American Dental Association's patient guidance identifies it as an option when hand flossing is difficult, including for some people with braces or fixed bridges.
That does not establish one replacement rule for every mouth. Ask the dental professional whether irrigation is your chosen between-teeth method or an addition to floss or brushes. Keep any separately prescribed method until that question is resolved.
The ADA includes daily between-teeth cleaning alongside twice-daily, two-minute toothbrushing and regular dental visits. A water flosser does not remove the brushing step. Our brushing basics section covers that separate routine.
This adult guide is desk-researched. It explains a general-use tip workflow using named manufacturer instructions, not personal product testing, gum-disease treatment or a prescription for pressure.
What should you check before first use?
Find the model number and its manual. Identify the compatible tip, power controls, pressure control and cleaning instructions. Do not assume that a rotating tip, handle pause button or shower-safe design exists on every device.
Waterpik's current support FAQ directs waterproofing and charging questions to the specific model. It also warns against use for nasal or ear irrigation. A device intended for mouth care is not a sinus-rinsing tool.
For the Waterpik WP-320 series example, the English manual, pages 2-3, requires these precautions:
- Keep the plug dry; do not bathe with or immerse the unit.
- Do not use damaged equipment; request manufacturer service.
- Do not aim beneath the tongue or into the nose, ears or other delicate areas.
- Remove oral jewelry; do not use with an open wound in the mouth or on the tongue.
- If advised to receive antibiotic premedication before dental procedures, consult your dentist before use.
Read the complete safeguards, including electrical placement and voltage requirements. No electrical repair or plug modification is part of this routine.
How are filling and first-use priming different?
Waterpik's general setup guide describes filling with warm water and clicking the tip into the handle. Follow the exact model's reservoir-fitting instructions.
The WP-320 manual specifies lukewarm water. For its first-use priming, aim into the sink at setting 5, run until water flows, then switch off. Before first mouth use, reset to its lowest setting, 1. Priming pressure is not the starting oral-cleaning pressure.
Those numbers identify this model's controls, not equivalent settings on another device. Do not skip the reset because water is already flowing. If your manual differs, follow it; if you cannot identify the controls, ask manufacturer support before using the device.
Where should the standard tip point?
Waterpik's tip guide, updated July 30, 2026, calls its everyday nozzle the Precision tip. Its instructions aim at the gumline at 90 degrees, with the tip slightly away from the gums. Start at the back and follow the gumline, pausing briefly between teeth.
Use only a compatible general-use tip. A pocket, orthodontic or implant-specific tip is not interchangeable simply because it attaches to a handle. Ask your dental team about the appropriate tip and route around braces, implants, bridges or recent treatment. This guide does not teach insertion into gum pockets or cleaning through a surgical site.
For a different tool, see professionally fitted interdental-brush technique. Changing tools also changes the movement; do not push a water-flosser nozzle through a gap like a brush.
What is the mouth-cleaning sequence?
Once the device is correctly prepared and your dental team has confirmed suitability:
- Position before starting. Lean over the sink and place the tip in your mouth before turning on, as Waterpik's setup guide directs.
- Let the water drain. Keep the stream directed as instructed and let water flow out into the sink. Do not seal your lips to retain it.
- Follow a complete route. Work along the gumline, pause between teeth, and include the inside and outside of upper and lower teeth. Waterpik's support instructions specify these surfaces.
- Stop before withdrawing. Switch off when finished rather than continuing to spray while repositioning outside the mouth.
- Complete after-use care. For WP-320, empty the reservoir and unplug afterward. Its limit is five minutes of operation in each two-hour period, not a recommended cleaning duration.
Do not continue through pain to finish a route or meet a timer. Stop and ask a dentist or hygienist to review suitability and technique. If water handling or control is difficult, request an adapted approach rather than improvising one.
What should go in the reservoir?
Use the water specified by the device instructions. Do not add a therapeutic rinse, essential oil or homemade mixture merely because it is sold for oral care.
Waterpik's support FAQ says warm water is sufficient for its routine use and directs additive questions to the manual. It excludes iodine, chlorine and water-insoluble essential oils. Whether a rinse is appropriate for your mouth is a separate dental question from whether a device tolerates it.
Follow the exact cleaning and tip-replacement directions afterward. This guide does not supply a disinfecting recipe or describe rinsing as sterilization. For leaks, damage or unreliable operation, stop using the device and contact manufacturer support; do not dismantle the electrical unit.
How can you avoid missing the same area?
Use this original coverage record with your hygienist. It is an organizational aid, not an assessment of plaque removal.
| Record field | What to write |
|---|---|
| Equipment | Exact model and compatible tip |
| Starting control | Manual's setting and any individual instruction |
| Route | Areas and surfaces demonstrated by the professional |
| Access difficulty | Location you cannot comfortably reach |
| Other tools | Where floss or a fitted brush remains in the plan |
| Follow-up | Who to contact about symptoms or equipment problems |
An entry such as “inside lower back teeth difficult to reach” is a useful appointment question. It does not justify higher pressure. Ask for a demonstration and repeat the movement with professional supervision if appropriate. Keep the record with the manual, not as a replacement for it.
What if gums bleed or other symptoms develop?
Contact a dentist about bleeding or painful, swollen gums. The NHS gum-disease page recommends assessment; do not wait through a fixed adjustment period or diagnose the cause from a device setting. Stop any painful motion.
Suspected dental infection needs urgent dental help. The NHS dental-abscess guidance directs emergency care for difficulty breathing, speaking, swallowing or opening the mouth; substantial mouth swelling; a swollen or painful eye; or sudden eyesight problems. In the UK, call 999 or go to A&E without driving yourself; elsewhere use local emergency services.
A different nozzle or rinse is not treatment for these symptoms. Keep routine questions within the between-teeth care section, and individual assessment with a qualified dental professional.